![Fabicaon.png]](https://44059364.hs-sites.com/hs-fs/hubfs/Fabicaon.png?width=40&height=40&name=Fabicaon.png)
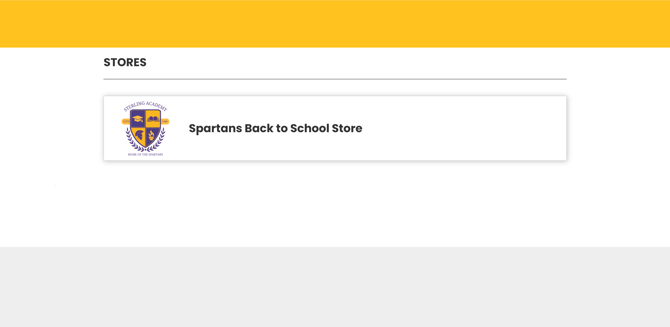
Dealer Categories give your organization a dedicated landing page to house all of its online stores. Follow the steps below to add them to your Dealer Landing Page.
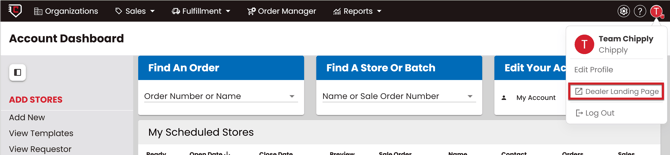
Not sure where to find your Dealer Landing Page? Hover over your profile icon in the top right corner of your Chipply account, then click Dealer Landing Page.
Creating Dealer Categories
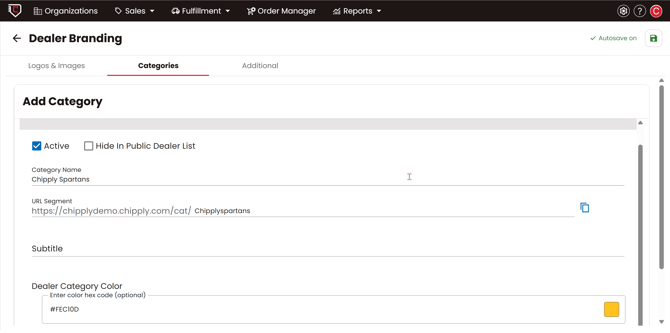
- Click the Settings gear icon in the top right corner, then select Dealer Branding, then Categories.
- Click the + button in the top right corner to add a new category.
- Enter a Category Name and URL Segment. A Category Color is optional. Click Save in the top right corner when finished.
Adding Stores to Categories
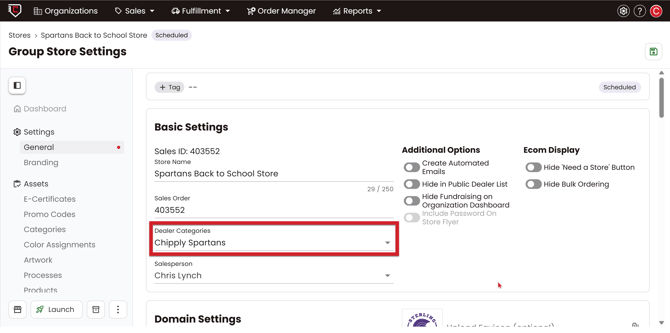
- Navigate to your Store Settings page.
- Under Basic Settings, use the Dealer Categories dropdown to assign your store to one or more categories.
Organization Category/Landing Page