![Fabicaon.png]](https://44059364.hs-sites.com/hs-fs/hubfs/Fabicaon.png?width=40&height=40&name=Fabicaon.png)
Messaging has a new look and some quality-of-life improvements to match the rest of the platform. The functionality you rely on today hasn’t gone away — it’s just organized differently and easier to get to.
What's Changed at a Glance
- Automated, New Message, and History used to be three separate pages under Communication on the left-hand menu within a store. They're now combined into a single Messages page.
- Message templates moved from Store Settings to Dealer Settings, since messaging now works across your dealer account, not just one store at a time.
- Creating or editing a message opens in a drawer that slides out from the side, instead of taking you to a new page.
- A new All Order Recipients option lets you queue up a message for everyone who places an order, without going back in later to select them.
- Resending a message now works from any sent message, not just automated ones.
Sending and Scheduling Messages
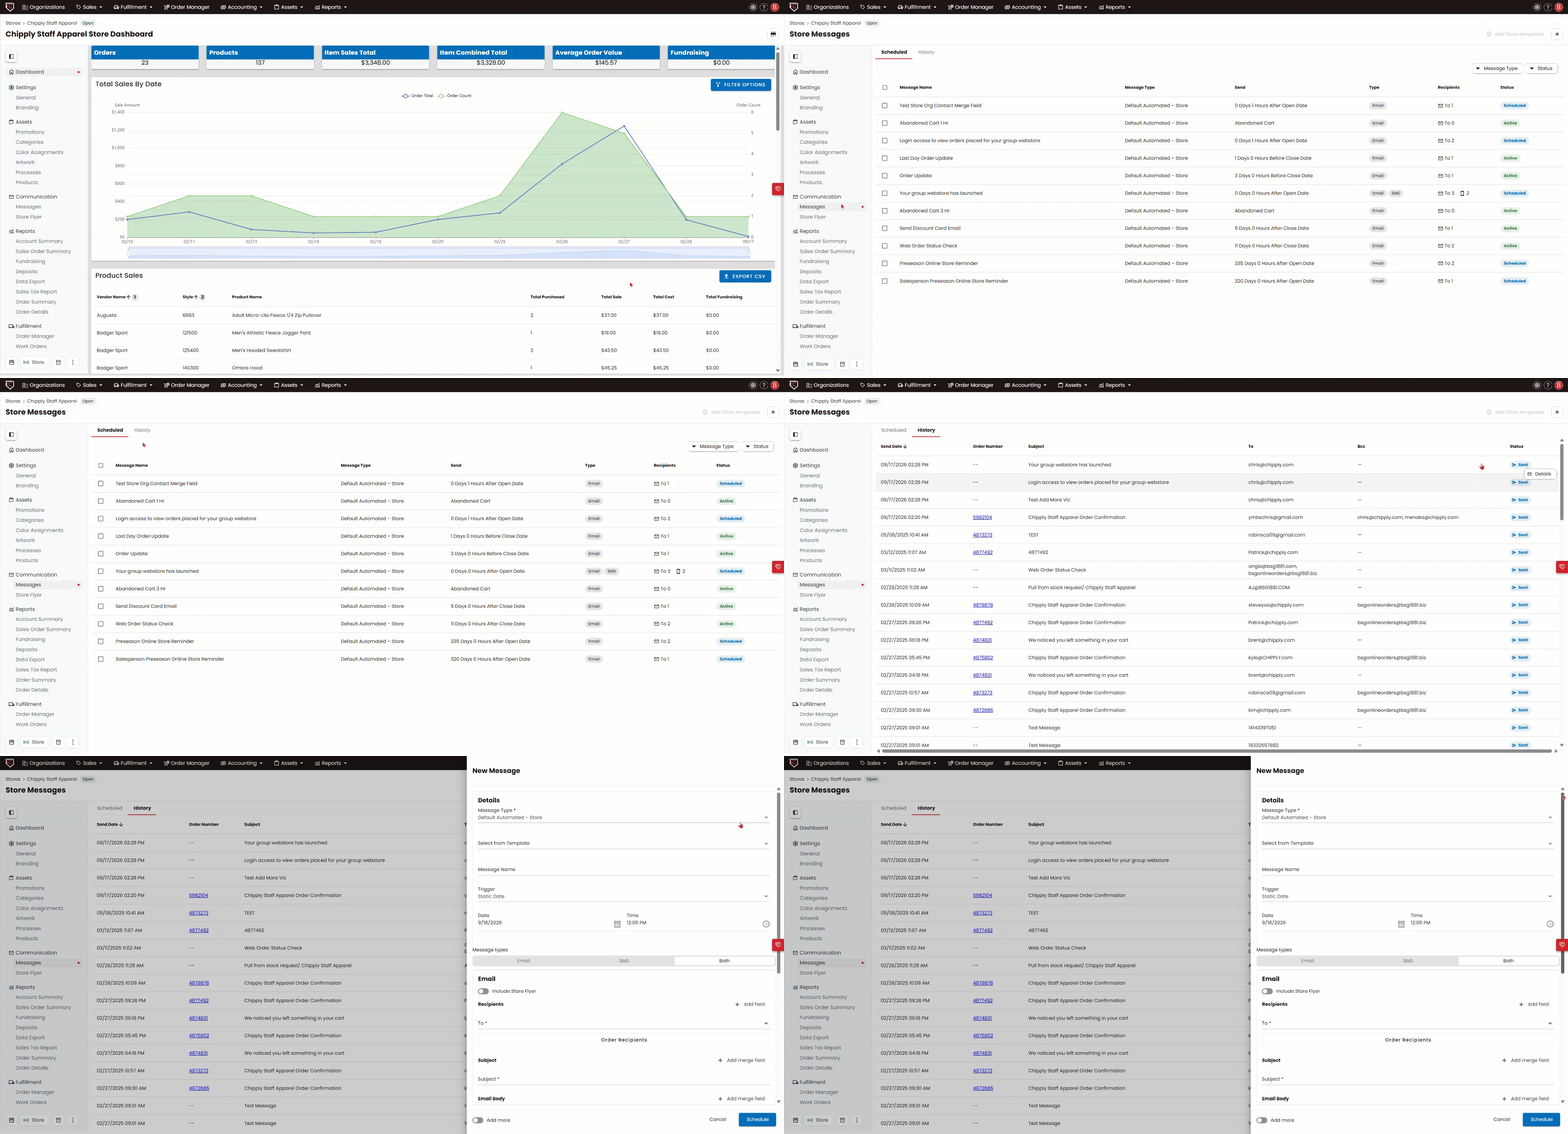
In your store, go to Communication › Messages. This replaces the old Automated and Message Customers pages.
- The Scheduled tab lists everything that's upcoming or automatically triggered, along with its status (Scheduled or Active).
- The History tab shows everything that's already been sent. Once a message sends, it moves out of Scheduled and into History.
- Click the + button in the top right to create a new message. This opens a drawer where you'll choose a message type, pick your recipients, and build your message. If you just want to send a one-off email to a shopper, you can also start from a saved template here.
Message Types
When you create a message, you'll choose from:
Default Automated - Store formerly “Store Automated.” The default emails that go out automatically, like order confirmations and launch announcements.
Message Ecom Customers formerly “Message Customers.” One-off messages you send to shoppers who've ordered from your store.
E-Certs & Purchasing Messages related to e-certificates and purchasing.
Choosing Recipients
You can still message a Custom Email address by simply typing the address and hitting enter, or you can also pick specific Order Recipients and filter them by shipping type.
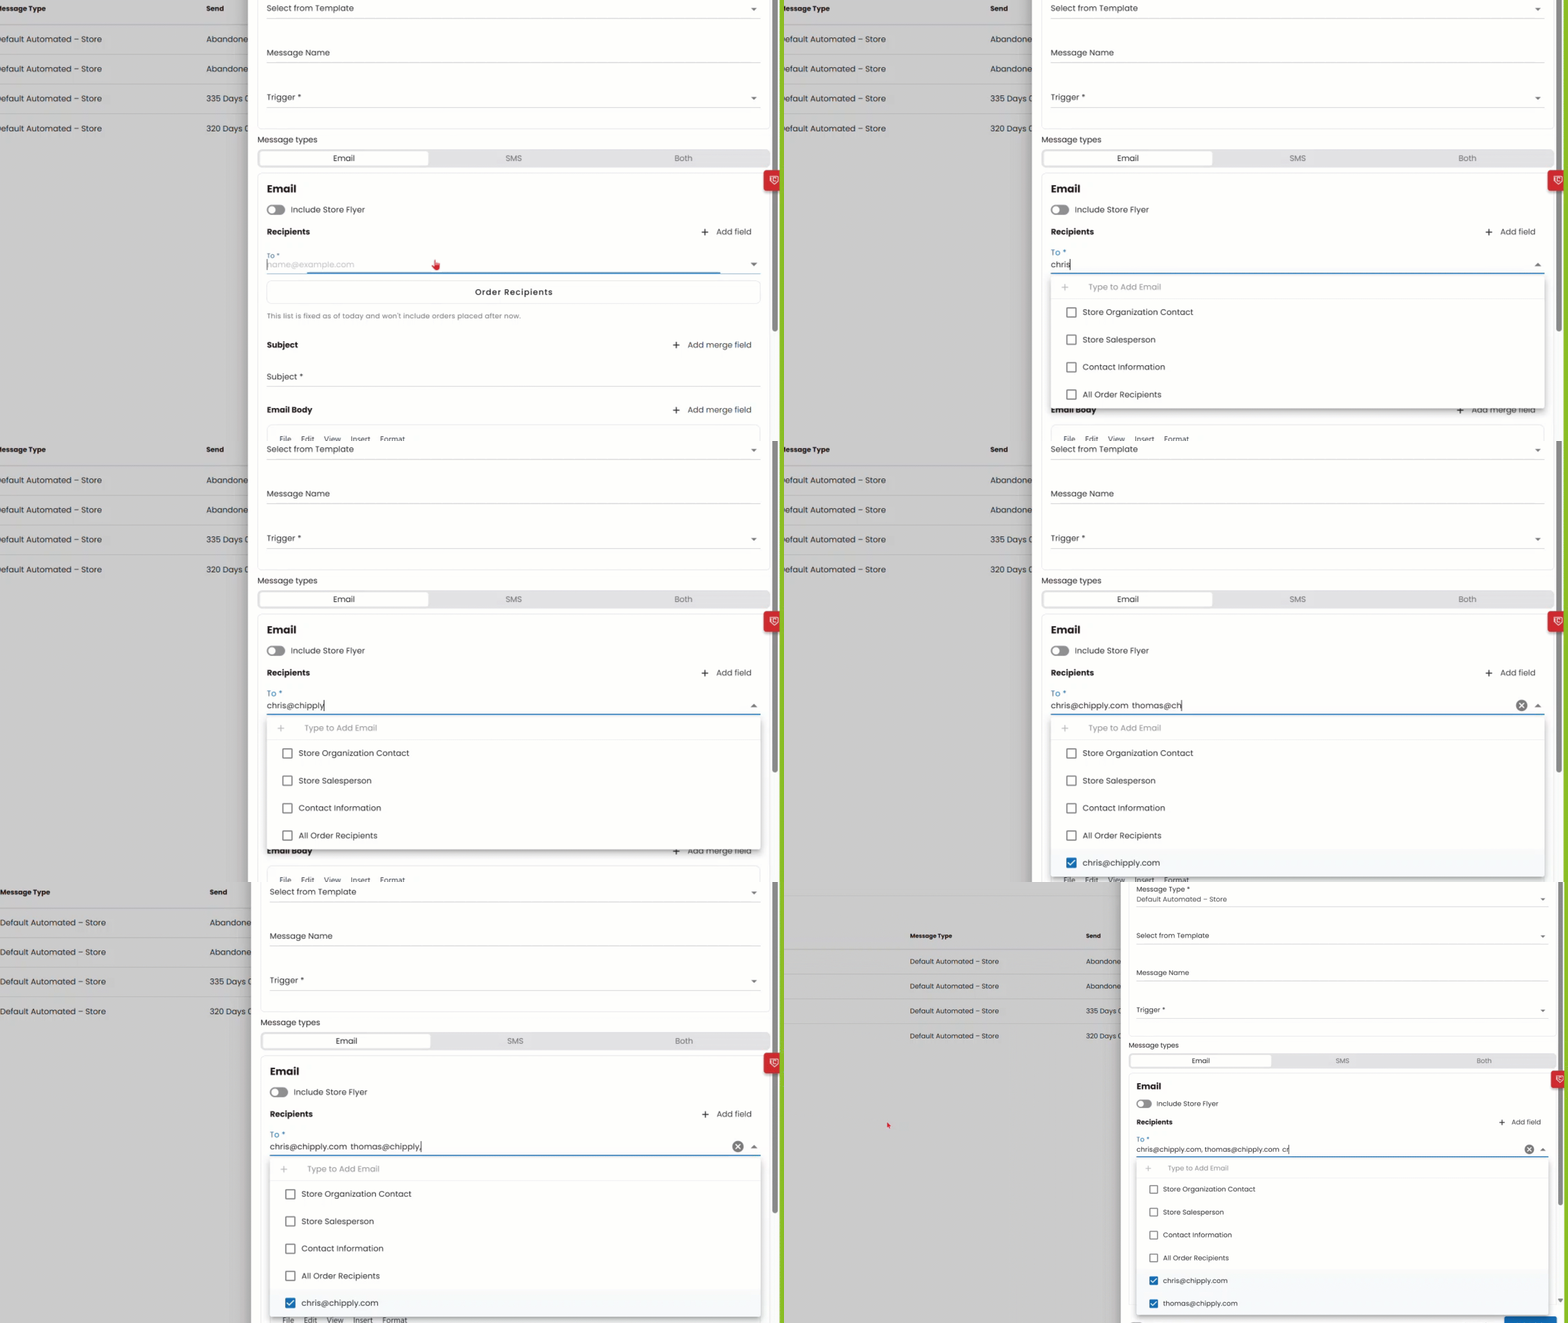
New to this release is All Order Recipients, available on Default Automated Store and Message Ecom Customers messages. Instead of manually selecting who placed an order, this option automatically sends to anyone who has placed an order at the time the message goes out — so you can set it up once at the start of your store and not think about it again.
Resending a Message
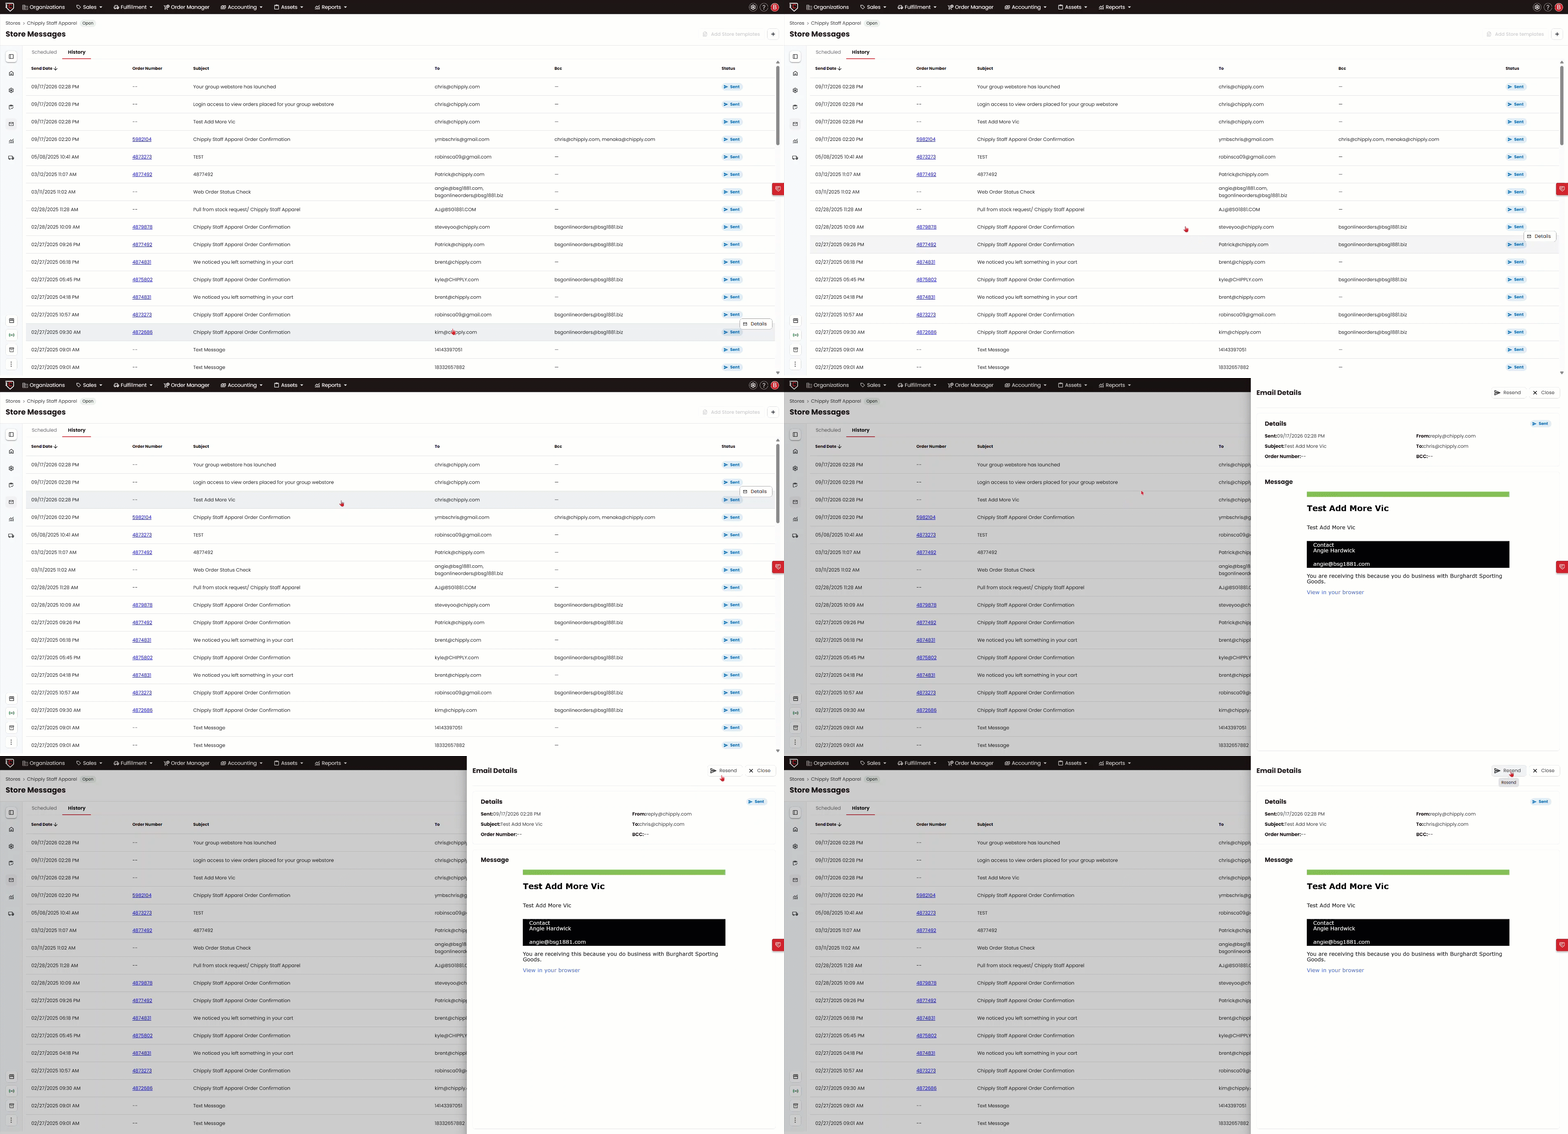
Go to Communication › Messages › History, find the message you want to resend, and open it to find the Resend button. This works for any sent message now, including one-off shopper emails, not just automated sends.
Managing Your Message Templates
Templates now live under Dealer Settings › Message Templates instead of store settings.
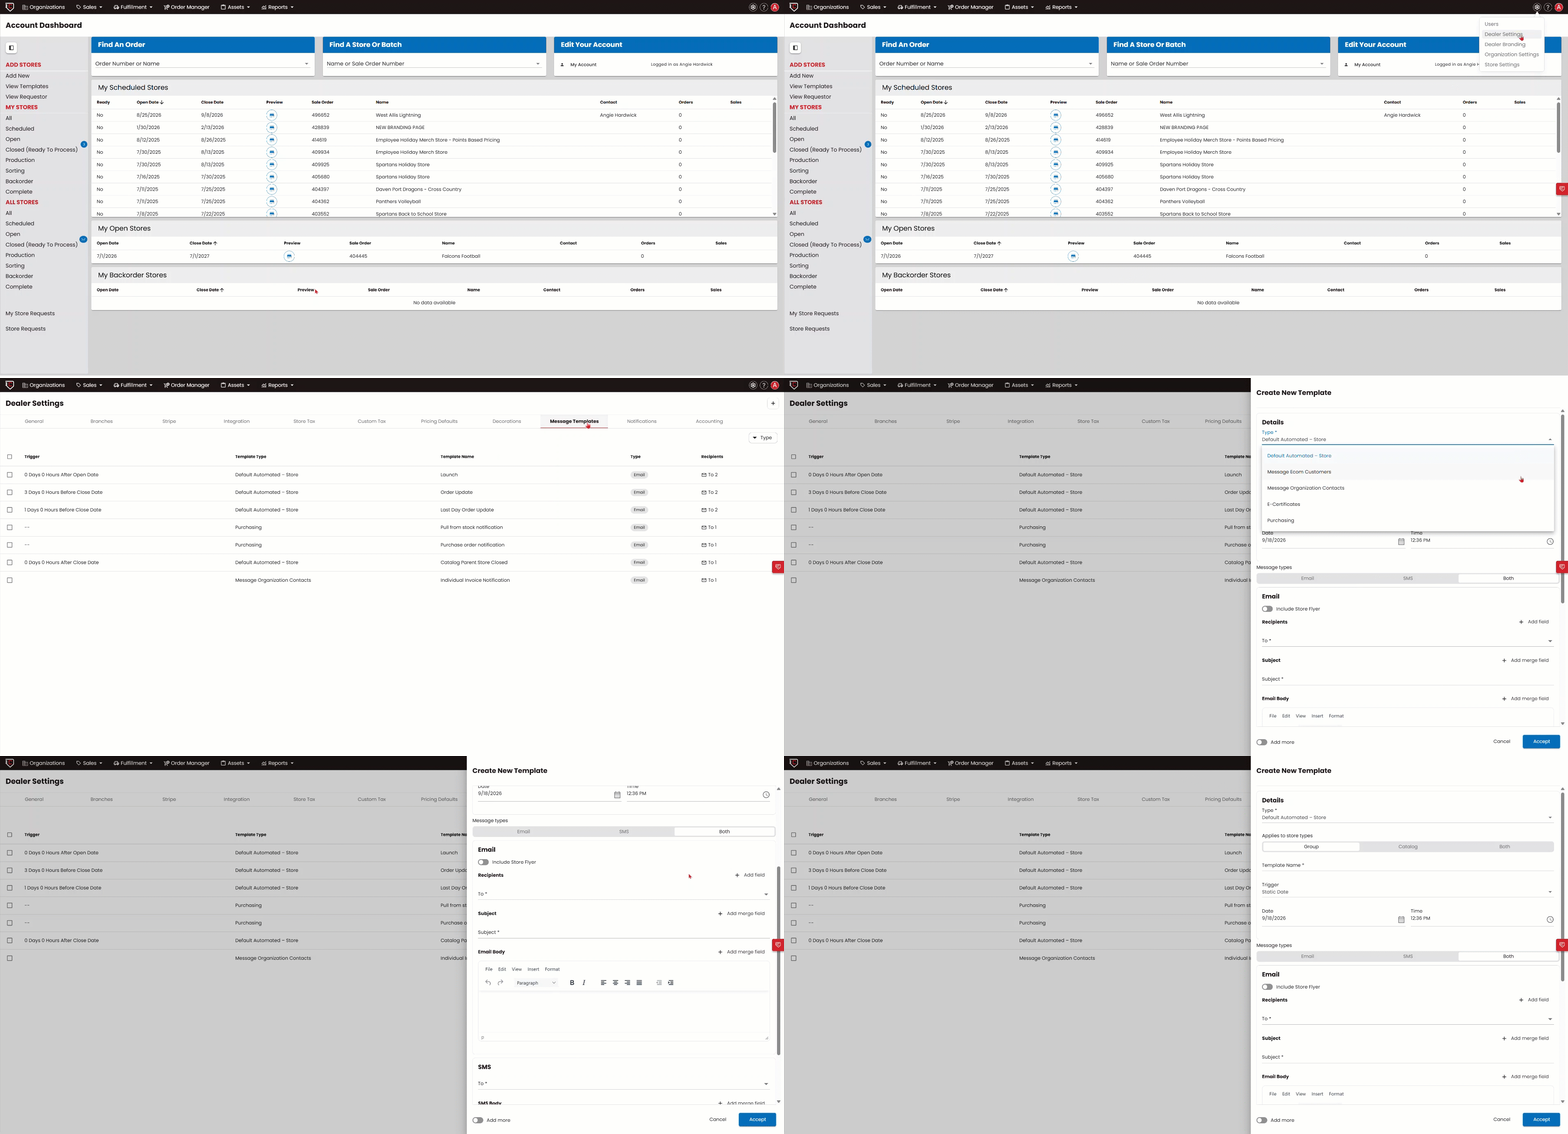
From here you can create and update the default templates that get added to your stores, filter your list by message type, and hover over or click a template to see who's on it as a recipient.