![Fabicaon.png]](https://44059364.hs-sites.com/hs-fs/hubfs/Fabicaon.png?width=40&height=40&name=Fabicaon.png)
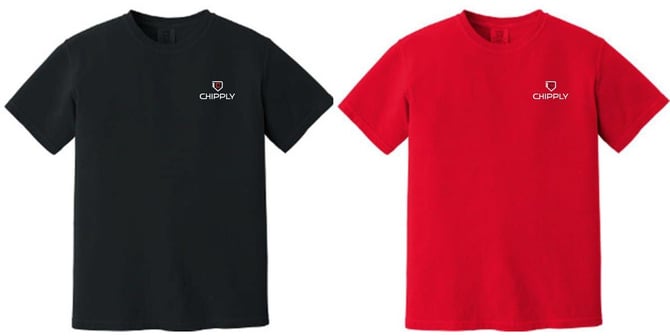
There will be times you will want to display a different version of the artwork based on the color of the garment. This situation can be achieved through "Artwork Variations".
- Within your store, select Artwork from the left-hand menu.
- Click the pencil icon on the artwork you want to add color variations to.
- Under Variations, click + Add.
- The Add Variation drawer will open. Click Preview File to upload your artwork file, then give it a name under Basic Information. Leave Standard Colors blank for now — you'll set those in the next step. Repeat for each color variation you have.
- Once your variations are added, fill in the Variation Name, Variation ID, Decoration Colors, and Garment Colors for each one.
- Now assign Standard Colors to each variation. Hover over a variation and click Edit, then select the garment colors that should trigger that variation. When a shopper's selected garment color matches a Standard Color, Chipply will automatically display the correct artwork variation.
If you have any garment colors that don't fall under our "Standard Colors" umbrella, then the products may look like this in the store.
This is a good indicator we need to go to the Color Assignments page. See this help page to efficiently put the correct artwork on the correct garment colors.